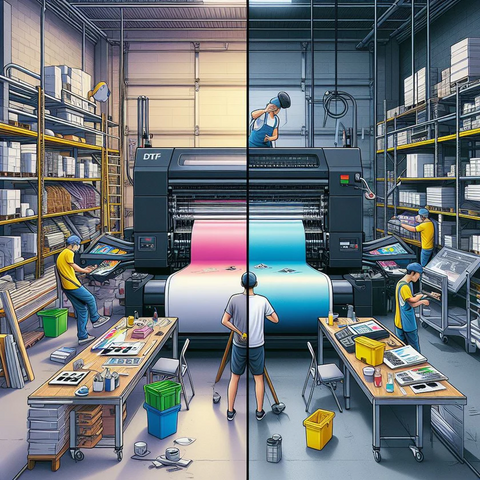

Direct-to-Film (DTF) printing has taken the custom apparel industry by storm, offering designers and entrepreneurs a versatile and vibrant way to bring their designs to life. Central to the success of DTF printing is the pressing process, where the transfer from film to fabric takes place. In this complete guide, we'll walk you through the essential steps and tips for achieving impeccable results when pressing DTF transfers.
-
Prepare Your Artwork for DTF Printing:
- Before you start pressing, ensure your artwork is prepared correctly for DTF printing. Follow recommended guidelines for file format, resolution, and color settings to achieve optimal results in the final transfer.
-
Select the Right DTF Film:
- The choice of DTF film plays a crucial role in the pressing process. Select a high-quality DTF film that is compatible with your printer and offers excellent adhesion properties. Consider transparency, flexibility, and color vibrancy when making your choice.
-
Load the DTF Film into the Printer:
- Proper loading of the DTF film into the printer is essential for accurate printing. Follow the manufacturer's guidelines to ensure the film is aligned correctly, preventing any misprints or inaccuracies.
-
Print Your Design:
- Use your DTF printer to transfer the design onto the DTF film. Check that the printer settings match the specifications of the film for temperature, speed, and other relevant parameters. Pay close attention to the printing process to catch any issues early on.
-
Trim and Weed the DTF Transfer:
- Once the design is printed, carefully trim and weed the excess film around the image. This step is crucial for achieving clean and precise transfers onto the fabric.
-
Prepare the Heat Press:
- Set up your heat press according to the recommended temperature and pressure settings for DTF printing. Ensure the platen is clean and free from any debris that could impact the transfer process.
-
Place the DTF Transfer on the Fabric:
- Position the weeded DTF transfer onto the fabric, ensuring it is centered and aligned correctly. Some designs may require specific placement for aesthetic or functional reasons, so consider this during the positioning phase.
-
Cover the DTF Transfer:
- Use a silicone or Teflon sheet to cover the DTF transfer before pressing. This protective layer prevents the film from sticking to the upper platen, ensuring a clean and smooth transfer.
-
Pressing Time and Temperature:
- Refer to the guidelines provided by the DTF film manufacturer for the recommended pressing time and temperature. Adjust your heat press settings accordingly, ensuring that the film adheres securely to the fabric.
-
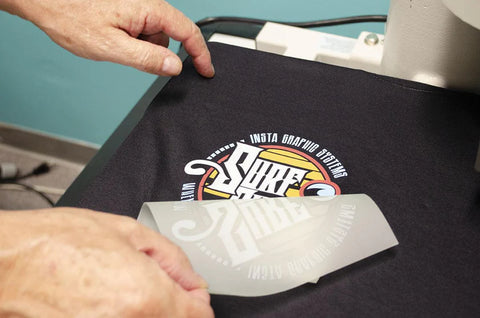
Cooling and Peeling:
- Allow the pressed fabric to cool before peeling off the DTF film. Cooling times may vary depending on the type of fabric and film used. Follow recommended cooling times to prevent any distortion or damage to the transferred design.
-
Inspect and Quality Check:
- Thoroughly inspect the pressed garment for any imperfections, such as incomplete transfers or color discrepancies. This step is crucial for maintaining a high standard of quality in your DTF-printed products.
-
Post-Pressing Care:
- Provide care instructions to your customers, highlighting the best practices for washing and caring for garments with DTF transfers. This ensures the longevity of the prints and customer satisfaction.
Conclusion: Pressing DTF transfers is a meticulous process that requires attention to detail and adherence to recommended guidelines. By following this comprehensive guide, you can elevate your DTF printing game and produce custom apparel that boasts vibrant, durable, and visually striking designs. Perfect your pressing technique, and watch your creations come to life with unparalleled clarity and precision.